Viewing the Images
Until I figure out a better way to post them, I will probably post all my 3d photos in 2 formats. Cross-eye stereo pairs and Anaglyphs.
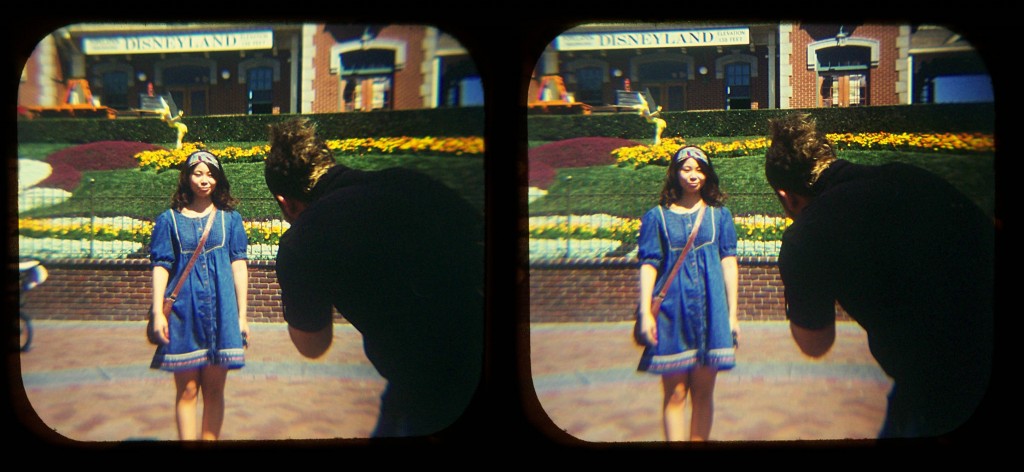
The cross-eye pictures look like this:
To view these double pictures, cross your eyes until the 2 images are crossed. Like this:
This is easier for some people than others. If the image looks inside-out, you are actually doing parallel eye viewing (the method used for those pictures they were selling in Mallrats).
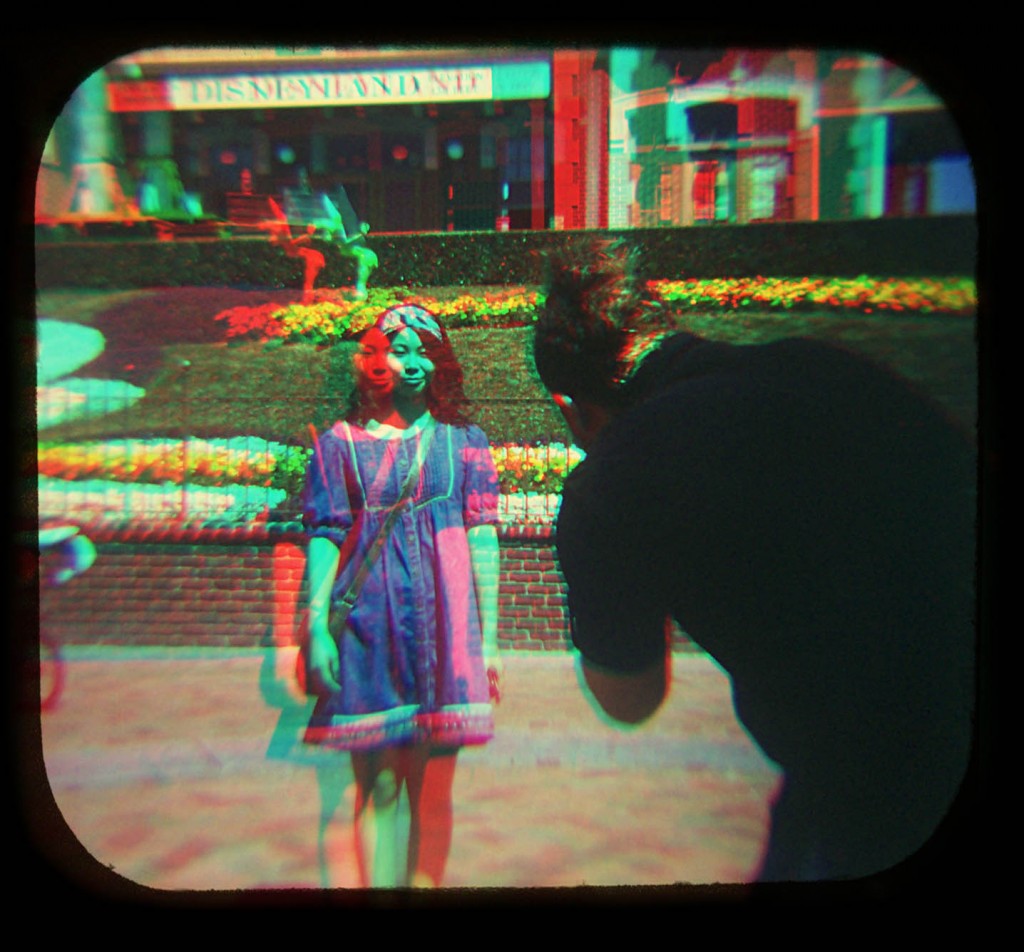
If it is difficult for you to use the cross eye method, you can try viewing the anaglyphs (the red/blue single images)
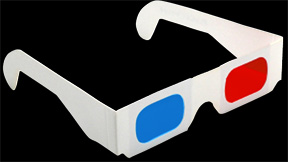
All you need to view the anaglyph images is a pair of red/cyan anaglyph glasses.. You know. They look like this:
Really though the cross eye viewing will present a full color sharper image, so if it’s hard maybe this tutorial will help.
The Cameras
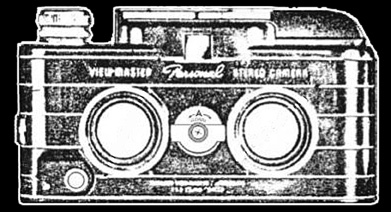
My favorite camera for taking 3d pictures is the View-Master camera.
It takes photos on 35mm slide film. 2 rows images on one roll at 1/4 the size. That makes about 72 stereo pictures per 36 photo roll of film. I would use Kodachrome if I could find it (there are still a couple places that have hoarded some). Otherwise I would use fuji Velvia 50 ASA. The low ASA was necessary because the pictures tiny and any film grain that exists is magnified. The lower the ASA the smaller the grain. The blank reels have been out of production for years. I found a few old blank View-Master reels on ebay, but now the site fresavolante.com is selling newly made ones.
If you’d like to try making your own View-Master reels or would like to read more about the View-Master Personal Camera, this site will tell you more than I can detail here. http://www.vmresource.com/camera/camera.htm
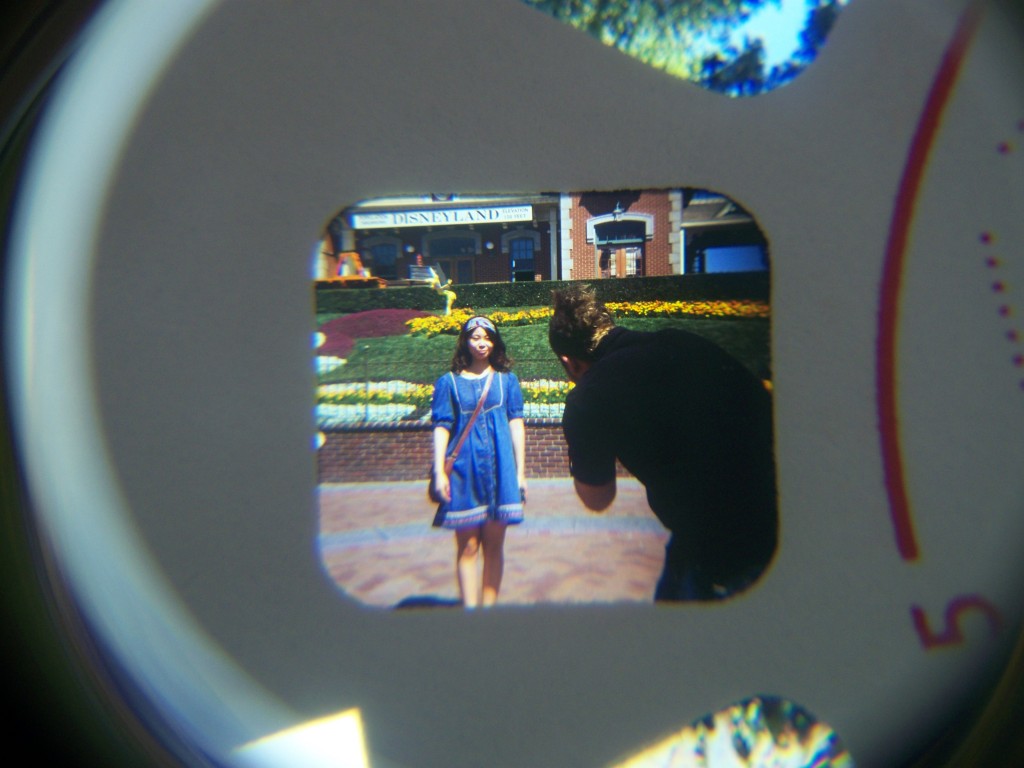
The pictures made with one of these cameras are great, but the downside is that they are basically one of a kind. It’s very difficult to accurately scan slide images that are less than half an inch tall. Ive recently had luck photographing the reels I make on a lightbox with a loupe (a little magnifying lens). Here’s what it looks like when I photograph a View-Master reel image like the one I used at the top of this page:
Looks really cool and has that nostalgic feel. That’s part of what makes the medium great. But it’s a lot of work to process and digitize.
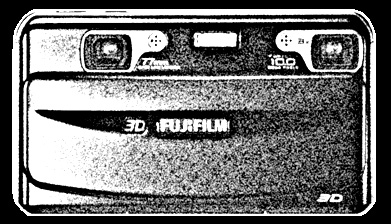
So when it was announced that Fuji was making their new digital 3d Camera, the Finepix_Real3d W1 I was one of the first in line, expensive though it may be.
The camera is extremely convenient, and although the quality of the photos isn’t superb in terms of color etc, they are 10 megapixel which really is quite a bit higher in resolution than the old View-Master pictures.
Right now the pictures it takes are not easy to view. I can look at them on the camera but the screen is low res. Fuji sells a digital photo frame but that’s an extra 500 or so bucks. So I’ve found a few ways around it. With an app I found online I can split the Fuji’s native file format (MPO) into 2 jpegs and that has allowed me to manipulate the images as you see them on this site. I’ll probably add some photoshop magic to make them look nicer and give them that warm kodachrome feel.
The Fuji camera also shoots video. An adapter is being made for the new 3d Televisions, and Im sure the video looks cool on the fuji 3d frame, but for now I can convert them (with another app called “split MPO” into a format that youtube will accept. Those can be viewed on this blog by crossing your eyes. Or if you click through to the youtube page for the video you have more options. Youtube will automatically convert it to various types of anaglyph and viewing mode.
The Fuji Finepix Real3dw1 camera is available here.
